 |
 |
|
"How To Draw A Wolf - Step 4"Home » Animal Pencil Sketches » How To Draw A Wolf - Step 4
Have you finished with the first, the second and the third steps in drawing a wolf? If not, please revert back to Step 1, Step 2 and Step 3 of this wolf drawing lesson. Are you ready?
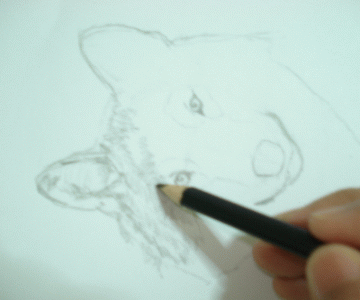
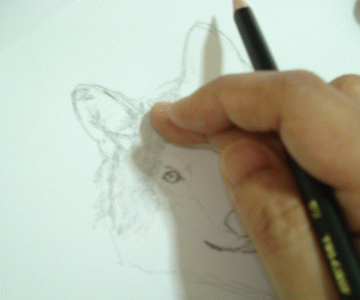
Let's start... Your Step 4 Drawing Lesson - A Wolf Now, take out your 2B or 4B pencil and do short strokes. This technique is useful when you are dealing with a hairy subject in your drawing. Naturally, the hair or the fur flows in a same direction. So, when you stroke, you may tilt your drawing paper according to the direction of the fur. The length of the stroke would be based on the length of the hair or fur. In this case the fur is short, so do short strokes. 
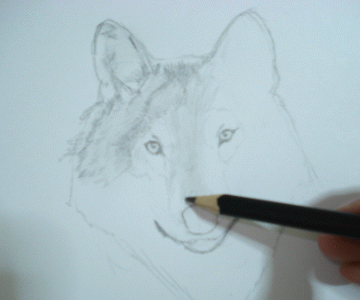
Start doing it from your upper left hand side to the upper right side of your pencil drawing (I assume you're a right-handed person, if not please do a reverse). After finishing the upper right part of the wolf head, you can smoothly smudge the strokes in the same direction with one of your fingers. 
After that, continue the above technique to the nose part of the wolf. 
Step 1 << Step 2 << Step 3 << Step 4 >> Step 5 >> Step 6 >> Step 7
|
Follow Us
What Pencil Drawing Topics Are You Looking For Today?
Best Deals
Let's Share & Comment!
Your Drawing Space
|
|
|
Enjoy This Site?
Then why not use the button below, to add us to your favorite bookmarking service? |
||
|
Homepage | How
To Start Drawing | Drawing Materials | Drawing
Pencil Set | Angel Drawings | Animal
Drawings | Flower
Drawings | Rose
Drawings | People
Drawings | Cartoon
Drawings | Manga
Drawings | Art
School | Graphic Design
Schools | Your
Drawing Space | Articles
| Art
Gallery Links | Contact
Me | About
Me | Search
Your Topics | For
Webmasters | Exchange Link | Testimonials | Sitemap
| Privacy Policy | Disclaimer

Return to top |
||
|
Copyright© Pencil Drawings 2007-2012. Get High Ranking On Major Search Engines | ||

