 |
 |
|
"How To Draw A Wolf - Step 5"Home » Animal Pencil Sketches » How To Draw A Wolf - Step 5
Have you finished with the first, the second and the third steps in drawing a wolf? If not, please revert back to Step 1, Step 2, Step 3 and Step 4 of this drawing a wolf lesson. Are you ready?
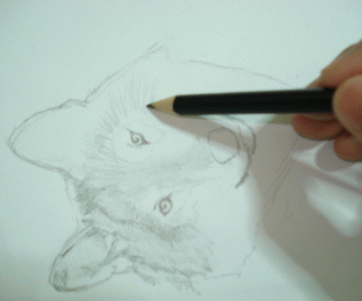
Let's start... Your Step 5 Drawing Lesson - A Wolf As I've mentioned it in Step 4, continue using the same technique on the upper right hand part of the wolf's head. Since the direction of the fur is different, you might want to tilt your drawing paper to whatever position that is easy for you. I tilted my drawing paper as shown in the figure below. 
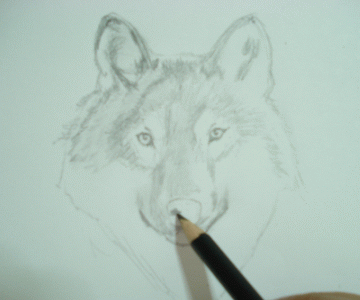
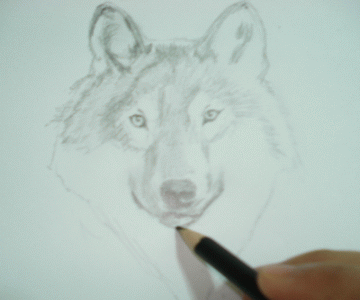
Then, continue toning the wolf's nose. 
Make the wolf's nose darker then the fur. If you notice, there are different tones on the nose part itself. The darker part represents the lower part of the nose and nose openings while the lighter part represents the upper part of the nose. Then, continue toning the mouth part. Don't be afraid of doing mistakes. Everybody makes mistakes. If you do, just erase it out! 
Step 1 << Step 2 << Step 3 << Step 4 << Step 5 >> Step 6 >> Step 7
|
Follow Us
What Pencil Drawing Topics Are You Looking For Today?
Best Deals
Let's Share & Comment!
Your Drawing Space
|
|
|
Enjoy This Site?
Then why not use the button below, to add us to your favorite bookmarking service? |
||
|
Homepage | How
To Start Drawing | Drawing Materials | Drawing
Pencil Set | Angel Drawings | Animal
Drawings | Flower
Drawings | Rose
Drawings | People
Drawings | Cartoon
Drawings | Manga
Drawings | Art
School | Graphic Design
Schools | Your
Drawing Space | Articles
| Art
Gallery Links | Contact
Me | About
Me | Search
Your Topics | For
Webmasters | Exchange Link | Testimonials | Sitemap
| Privacy Policy | Disclaimer

Return to top |
||
|
Copyright© Pencil Drawings 2007-2012. Get High Ranking On Major Search Engines | ||

